PHP Enums offer numerous possibilities in a project, especially when effectively associated with entities to manage value displays, forms, and more. In this comprehensive Laravel guide, we will explore how to use them.
Warning: PHP attributes are available since PHP 8.
However, it may happen that we need to add additional information to an Enum. Here are some examples:
- I have an Enum for roles but I also want to manage a detailed text that will be displayed for each role.
- I have an Enum to manage the states of articles on a blog, but I also want to manage colors corresponding to each state.
And we can imagine many cases like these. A fairly simple solution is to create a method in our Enum (For example description) which returns the corresponding value.
However, this approach can generate many methods to create according to the needs, and the code remains quite rigid, as in the following example:
public function description(): string
{
    return match($this)
    {
        self::ADMIN => 'He\'s got full powers',
        self::USER => 'A classic user, with classic rights',
        self::GUEST => 'Oh, a guest, be nice to him!',
    };
}
In this article, we will see how to go further by using PHP Attributes to enrich our Enums. We will cover the concepts of Enums, Attributes and Reflection API. I had this idea when I discovered a package that offers many additional features for Enums, including attributes. I thought that digging into this subject and redoing a version myself would be interesting, and I will tell you about the package in question at the end of the article.
Are you a PHP developer?
👉🏼 Discover our PHP job offers
👉🏼 Test yourself with our Laravel multiple-choice questionnaire.
Project setup
Personnally, I use Sail, which is very simple to set up, to run my project locally. All the information is on the official Laravel documentation: https://laravel.com/docs/10.x#laravel-and-docker.
I also configured an alias for the sail command so that I don’t have to write ./vendor/bin/sail for each command. All the information is here: https://laravel.com/docs/10.x/sail#configuring-a-shell-alias
Let’s start by creating a new project with the following command:
curl -s "https://laravel.build/enums-powers" | bashNext, let’s install Tailwind to be able to quickly style our project (and also because I like Tailwind). The complete Tailwind installation guide for Laravel is available here: https://tailwindcss.com/docs/guides/laravel
The installation must have generated two files tailwind.config.js and postcss.config.js.
Once the project is initialized, launched locally and the command npm run dev executed, we can start working on it.
For the moment, we find this famous landing page:
But, we don’t care about it, so we can delete the welcome.blade.php view.
Now, let’s code
We need users
Let’s start by running the migrations to create the users table:
sail artisan migrateThen, let’s modify the database/seeders/DatabaseSeeder.php file to add users, as follows:
<?php

namespace Database\Seeders;

// use Illuminate\Database\Console\Seeds\WithoutModelEvents;
use Illuminate\Database\Seeder;

class DatabaseSeeder extends Seeder
{
    /**
     * Seed the application's database.
     */
    public function run(): void
    {
        \App\Models\User::factory(10)->create();
    }
}
And we finish by running the following command to create the users:
sail artisan db:seedCreation of the users listing page
We start by creating a Controller to manage our users. For this, we will run the following command:
sail artisan make:controller UserControllerThen, let’s create a route to access our users listing page. Modify the file routes/web.php and add the following route instead of the default route:
Route::get('/', [UserController::class, 'index'])->name('users.index');And, let’s create the index method in our Controller to return the users listing view. For this, we will modify the file app/Http/Controllers/UserController.php and add the following method:
public function index()
{
    return view('users');
}
After that, let’s create a layout for our application in a file resources/views/components/layout.blade.php and add the following code:
<!DOCTYPE html>
<html lang="{{ str_replace('_', '-', app()->getLocale()) }}">
    <head>
        <meta charset="utf-8">
        <meta name="viewport" content="width=device-width, initial-scale=1">
        @vite('resources/css/app.css')

        <title>Enums powers</title>

    </head>
    <body class="antialiased">
        <div class="relative min-h-screen bg-gray-100 bg-center">
            <div class="p-6 mx-auto max-w-7xl lg:p-8">
                {{ $slot }}
            </div>
        </div>
    </body>
</html>
Thus, the code on the users listing page will be lighter. So, let’s create the users listing view in a file resources/views/users.blade.php and add the following code:
<x-layout>
   <h1 class="text-3xl font-bold">Users</h1>
   <!-- We will insert the users list here later -->
</x-layout>
To be able to display the list of users, we will send it to the view from the Controller. For this, let’s modify the index method of the Controller app/Http/Controllers/UserController.php and add this:
public function index()
{
$users = User::all();
return view('users', compact('users'));
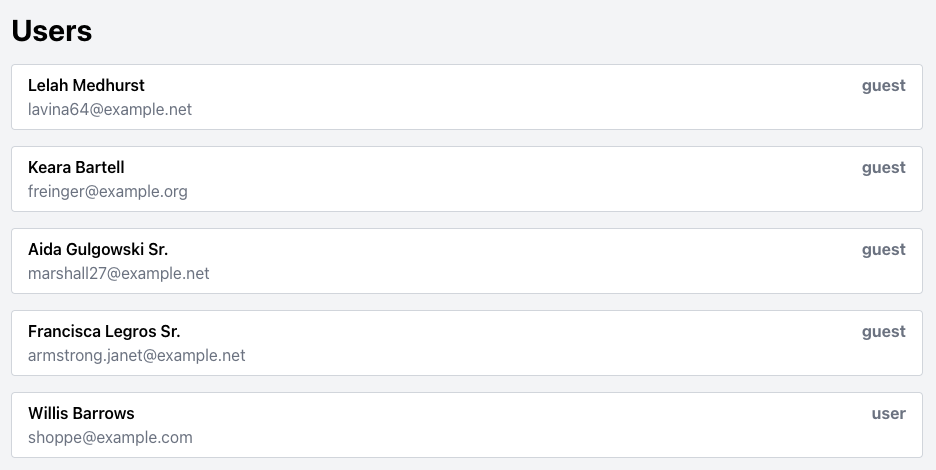
}We will then modify the view resources/views/users.blade.php to display the list of users as follows:
<x-layout>
<h1 class="text-3xl font-bold">Users</h1>
<ul>
@foreach ($users as $user)
<li class="px-4 py-2 my-4 bg-white border border-gray-300 rounded">
<p class="font-semibold">{{ $user->name }}</p>
<p class=text-gray-500>{{ $user->email }}</p>
</li>
@endforeach
</ul>
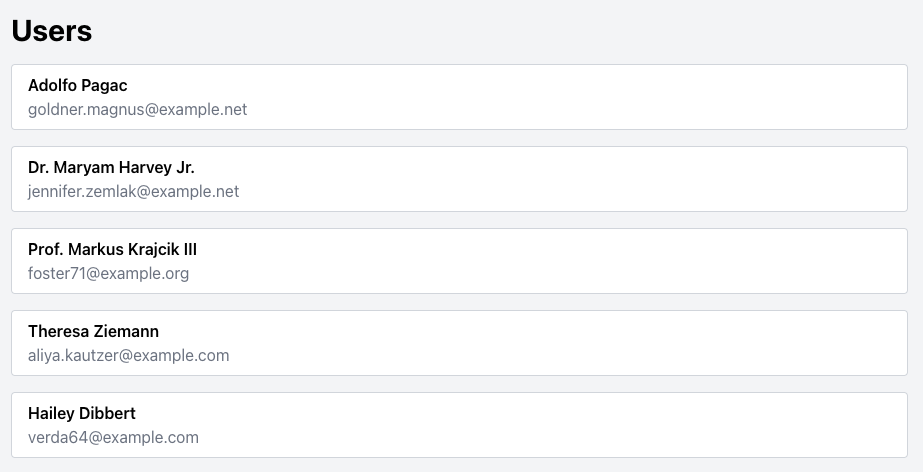
</x-layout>That gives us a nice list of users:
Creation of the Enum for roles
We still don’t have any roles to display for our users. So, let’s create an Enum to manage the roles. For this, we will create the file app/Enums/RoleEnum.php and add the following code:
<?php

namespace App\Enums;

enum RoleEnum: string
{
    case ADMIN = 'admin';
    case USER = 'user';
    case GUEST = 'guest';
}
Let’s now modify the model app/Models/User.php to use our Enum. For this, we will add the following line in the $castsproperty:
protected $casts = [
    /* ... */
    'role' => RoleEnum::class,
];
We will then modify the migration to add the role column in the users table. For this, let’s modify the file database/migrations/2014_10_12_000000_create_users_table.phpwith a new definition of the users table as follows:
Schema::create('users', function (Blueprint $table) {
    $table->id();
    $table->string('name');
    $table->string('email')->unique();
    $table->timestamp('email_verified_at')->nullable();
    $table->string('password');
    $table->string('role')->default(RoleEnum::GUEST->value);
    $table->rememberToken();
    $table->timestamps();
});
It is also necessary to modify the factory database/factories/UserFactory.php to add the role. And transform the definition as follows:
return [
    'name' => fake()->name(),
    'email' => fake()->unique()->safeEmail(),
    'email_verified_at' => now(),
    'password' => '$2y$10$92IXUNpkjO0rOQ5byMi.Ye4oKoEa3Ro9llC/.og/at2.uheWG/igi',
    'remember_token' => Str::random(10),
    'role' => fake()->randomElement(RoleEnum::cases())->value,
];
What we did here is to retrieve the different cases of the RoleEnum and randomly choose the value of one of the cases to create the User during seeding.
We then modify the view resources/views/users.blade.phpto display the role of each user:
<x-layout>
   <h1 class="text-3xl font-bold">Users</h1>
    <ul>
        @foreach ($users as $user)
            <li class="flex justify-between px-4 py-2 my-4 bg-white border border-gray-300 rounded">
                <div>
                    <p class="font-semibold">{{ $user->name }}</p>
                    <p class=text-gray-500>{{ $user->email }}</p>
                </div>
                <p class="font-bold text-gray-500">{{ $user->role }}</p>
            </li>
        @endforeach
    </ul>
</x-layout>
Here, we added the role and used the Tailwind class flex to rearrange the elements.
Let’s run the migrations and seeding again to have users with roles:
sail artisan migrate:fresh --seedWe now have this new view:
Now, let’s go further to retrieve more information from the Enum.
Modification of the Enum (Version 1)
Admit that I want to add a description for each role, let’s try to do it without attributes first. So, let’s modify the Enum to add a descriptionmethod as follows:
<?php
namespace App\Enums;
enum RoleEnum: string
{
case ADMIN = 'admin';
case USER = 'user';
case GUEST = 'guest';
public function description(): string
{
return match($this)
{
self::ADMIN => 'He\'s got full powers',
self::USER => 'A classic user, with classic rights',
self::GUEST => 'Oh, a guest, be nice to him!',
};
}
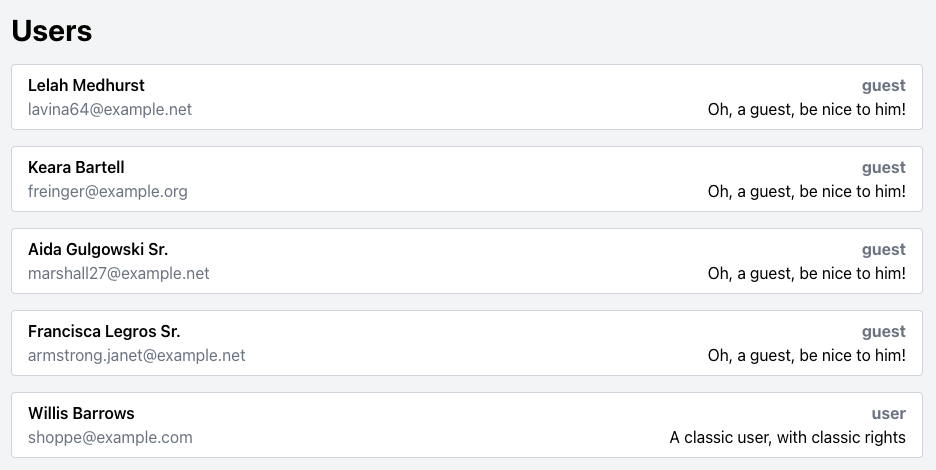
}We can modify the view resources/views/users.blade.phpto display the role description as follows:
<x-layout>
    <h1 class="text-3xl font-bold">Users</h1>
     <ul>
         @foreach ($users as $user)
             <li class="flex justify-between px-4 py-2 my-4 bg-white border border-gray-300 rounded">
                 <div>
                     <p class="font-semibold">{{ $user->name }}</p>
                     <p class=text-gray-500>{{ $user->email }}</p>
                 </div>
                 <div class="text-right">
                     <p class="font-bold text-gray-500">{{ $user->role }}</p>
                     <p>{{ $user->role->description() }}</p>
                 </div>
             </li>
         @endforeach
     </ul>
 </x-layout>
And that’s the result:
This is not the only way to do this from an Enum but the important thing is that it generates code for each element that we want to add to an Enum.
Let’s now get to the heart of the matter, refactoring.
Refactoring
Cleaning up
Delete what we will no longer need: – The description method of the RoleEnum Enum
Creation of the Description attribute
We will use PHP attributes, which are available since version 8. So, we will create an attribute to be able to retrieve the information from the Enum. If you are not familiar with the concept, here is the documentation: https://www.php.net/manual/en/language.attributes.overview.php.
To use an attribute, you must create a corresponding class. Let’s first create an AttributeProperty class which will be the parent of all our attributes. We place it in an app/Attributes folder and add the following code:
<?php

namespace App\Attributes;

use Attribute;

/* Indicate that Attribute will be use only on constants */
#[Attribute(Attribute::TARGET_CLASS_CONSTANT)]
class AttributeProperty
{
    /* Will be useful to retrieve attribute class later */
    public const ATTRIBUTE_PATH = 'App\Attributes\\';

    public function __construct(
        private mixed $value,
    ) {
    }

    /**
     * Get the value of the attribute
     */
    public function get(): mixed
    {
        return $this->value;
    }
}
Let’s now create our first attribute, the description, to replace our previous example. For this, we create a Description class in the app/Attributes folder and add the following code:
<?php

namespace App\Attributes;

use Attribute;

#[Attribute(Attribute::TARGET_CLASS_CONSTANT)]
class Description extends AttributeProperty {}
And that’s it, our Description attribute class is already functional. We will be able to use it in our Enum.
Let’s add it as follows:
<?php

namespace App\Enums;

use App\Attributes\Description;

enum RoleEnum: string
{
    #[Description('He\'s got full powers')]
    case ADMIN = 'admin';
    #[Description('A classic user, with classic rights')]
    case USER = 'user';
    #[Description('Oh, a guest, be nice to him!')]
    case GUEST = 'guest';
}
Creation of the AttributableEnum trait
To be able to use an attribute, we need to retrieve it. For this, we will use the Reflection API which allows to retrieve information about classes, methods, properties, etc. For more information, here is the documentation: https://www.php.net/manual/en/book.reflection.php.
The idea is to be able to use this method on all our future Enums. So, we will create an AttributableEnum trait in the app/Traitsfolder and add the following code:
<?php

namespace App\Traits;

trait AttributableEnum
{
    /* ... */
}
We add this trait to our Enum app/Enums/RoleEnum.php as follows:
<?php

namespace App\Enums;

use App\Attributes\Description;
use App\Traits\AttributableEnum;

enum RoleEnum: string
{
    /* We use the trait we have created */
    use AttributableEnum;

    #[Description('He\'s got full powers')]
    case ADMIN = 'admin';
    #[Description('A classic user, with classic rights')]
    case USER = 'user';
    #[Description('Oh, a guest, be nice to him!')]
    case GUEST = 'guest';
}
Our goal is to call the role description like this in the view:
<x-layout>
   <h1 class="text-3xl font-bold">Users</h1>
    <ul>
        @foreach ($users as $user)
            <li class="flex justify-between px-4 py-2 my-4 bg-white border border-gray-300 rounded">
                <div>
                    <p class="font-semibold">{{ $user->name }}</p>
                    <p class=text-gray-500>{{ $user->email }}</p>
                </div>
                <div class="text-right">
                    <p class="font-bold text-gray-500">{{ $user->role }}</p>

                    <!-- Call the attribute description for this Enum case -->
                    <p class="text-gray-500">{{ $user->role->description() }}</p>

                </div>
            </li>
        @endforeach
    </ul>
</x-layout>
For this, we will modify the trait app/Traits/AttributableEnum.php and add the following method:
<?php

namespace App\Traits;

use App\Attributes\AttributeProperty;
use BadMethodCallException;
use Illuminate\Support\Str;
use ReflectionAttribute;
use ReflectionEnum;

trait AttributableEnum
{
    /**
     * Call the given method on the enum case
     *
     */
    public function __call(string $method, array $arguments): mixed
    {
        // Get attributes of the enum case with reflection API
        $reflection = new ReflectionEnum(static::class);
        $attributes = $reflection->getCase($this->name)->getAttributes();

        // Check if attribute exists in our attributes list
        $filtered_attributes = array_filter($attributes, fn (ReflectionAttribute $attribute) => $attribute->getName() === AttributeProperty::ATTRIBUTE_PATH . Str::ucfirst($method));

        // If not, throw an exception
        if (empty($filtered_attributes)) {
            throw new BadMethodCallException(sprintf('Call to undefined method %s::%s()', static::class, $method));
        }

        return array_shift($filtered_attributes)->newInstance()->get();
    }
}
To detail the process:
- First, the magic method
__call()allows us to intercept a call to a method that does not exist on our class. As there is nodescription()method on our Enum, we will be able to intercept it and do what we want with it. - The
ReflectionEnumclass allows us to retrieve all the information from ourRoleEnum. We will be able to retrieve the attributes of our Enum as follows:$reflection->getCase($this->name)->getAttributes().$this->namecorresponds to the name of the Enum case. - We will then filter the attributes to keep only those that match to our
Descriptionattribute with thearray_filtermethod. We use the constantAttributeProperty::ATTRIBUTE_PATHto retrieve the full path of ourDescriptionattribute which isApp\Attributes\Description. - If we don’t find a corresponding attribute, we throw a
BadMethodCallExceptionto indicate that the method does not exist. - If we find a matching attribute, we will instantiate it and call its
get()method to retrieve the value we are interested in.
And that’s it, with the combination of the Trait and PHP attributes, we have given superpowers to our Enums.
Creation of the BackgroundColor attribute
We will now create a new attribute to manage the background color of each role. For this, we will add a BackgroundColor class in the app/Attributes folder and add the same code as for the Description attribute for now.
We will go a little further by making sure to directly retrieve the Tailwind class for the background color.
<?php

namespace App\Attributes;

use Attribute;

#[Attribute(Attribute::TARGET_CLASS_CONSTANT)]
class BackgroundColor extends AttributeProperty
{

    public function __construct(
        private mixed $value,
    ) {
    }

    /**
     * Get the value of the attribute
     */
    public function get(): string
    {
        return 'bg-' . $this->value . '-100';
    }
}
And that’s it, we can use it in our Enum app/Enums/RoleEnum.php as follows:
enum RoleEnum: string
{
use AttributableEnum;
#[Description('He\'s got full powers')]
#[BackgroundColor('red')]
case ADMIN = 'admin';
#[Description('A classic user, with classic rights')]
#[BackgroundColor('blue')]
case USER = 'user';
#[Description('Oh, a guest, be nice to him!')]
#[BackgroundColor('green')]
case GUEST = 'guest';
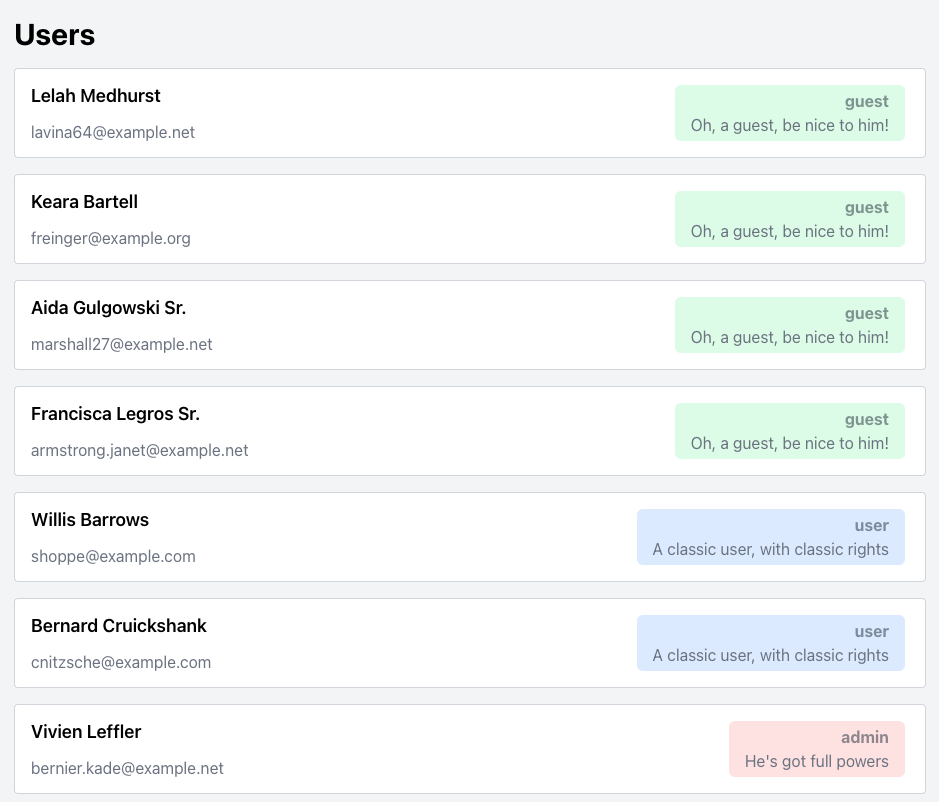
}And we can use it in our view resources/views/users.blade.php, also modifying the style of the page, as follows:
<x-layout>
   <h1 class="text-3xl font-bold">Users</h1>
    <ul>
        @foreach ($users as $user)
            <li class="flex justify-between px-4 py-2 my-4 bg-white border border-gray-300 rounded">
                <div class="flex flex-col justify-around">
                    <p class="text-lg font-semibold">{{ $user->name }}</p>
                    <p class=text-gray-500>{{ $user->email }}</p>
                </div>
                <!-- We add the class generated by the Attribute here -->
                <div class="text-right px-4 py-1 mx-1 my-2 rounded-md {{  $user->role->backgroundColor()  }}">
                    <p class="font-bold text-gray-800/50">{{ $user->role }}</p>

                    <!-- Call the attribute description for this Enum case -->
                    <p class="text-gray-500">{{ $user->role->description() }}</p>
                </div>
            </li>
        @endforeach
    </ul>
</x-layout>
Tailwind, by default, only generates the classes present in the code. As our classes are dynamically generated, we will have to add a configuration so that Tailwind generates the background-color classes. For this, we will modify the file tailwind.config.js by adding a safelist as follows:
/** @type {import('tailwindcss').Config} */
export default {
  content: [
    "./resources/**/*.blade.php",
    "./resources/**/*.js",
    "./resources/**/*.vue",
  ],
  theme: {
    extend: {},
  },
  safelist: [
    {
      /* We want any bg color class to be generated */
      pattern: /^bg-\w+-\d{2,3}$/,
    }
  ],
  plugins: [],
}
Here is the result:
Creation of the Label attribute
To finish, we would like the name of the role to be displayed in a prettier way. So, we will create a Label attribute for this. We will create a Label class in the app/Attributes folder and add the following code:
<?php

namespace App\Attributes;

use Attribute;

#[Attribute(Attribute::TARGET_CLASS_CONSTANT)]
class Label extends AttributeProperty {}
We apply it to our Enum app/Enums/RoleEnum.php as follows:
<?php
namespace App\Enums;
use App\Attributes\BackgroundColor;
use App\Attributes\Description;
use App\Attributes\Label;
use App\Traits\AttributableEnum;
enum RoleEnum: string
{
use AttributableEnum;
#[Label('Administrator')]
#[Description('He\'s got full powers')]
#[BackgroundColor('red')]
case ADMIN = 'admin';
#[Label('User')]
#[Description('A classic user, with classic rights')]
#[BackgroundColor('blue')]
case USER = 'user';
#[Label('Guest')]
#[Description('Oh, a guest, be nice to him!')]
#[BackgroundColor('green')]
case GUEST = 'guest';
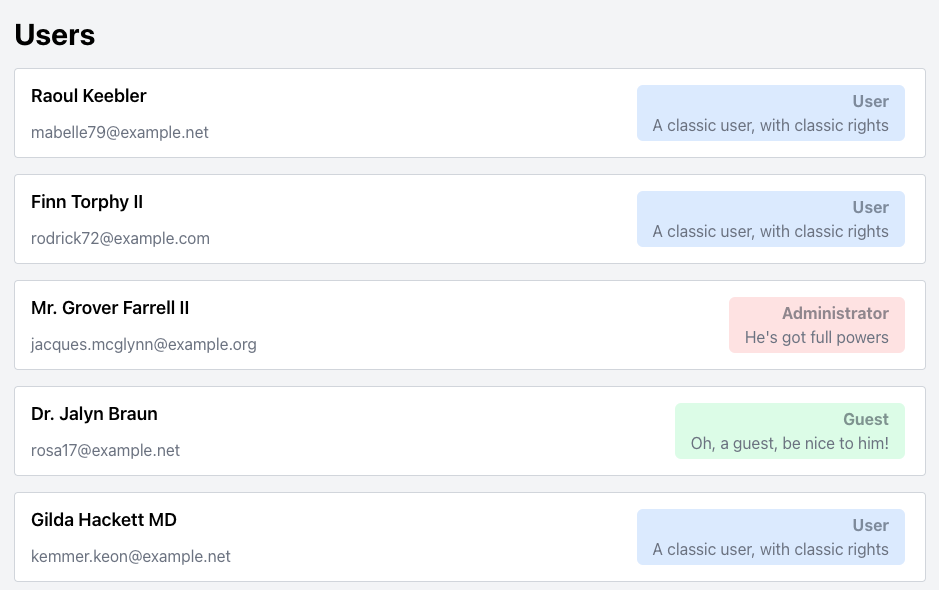
}We can, now, display it in the view resources/views/users.blade.php like this:
<x-layout>
   <h1 class="text-3xl font-bold">Users</h1>
    <ul>
        @foreach ($users as $user)
            <li class="flex justify-between px-4 py-2 my-4 bg-white border border-gray-300 rounded">
                <div class="flex flex-col justify-around">
                    <p class="text-lg font-semibold">{{ $user->name }}</p>
                    <p class=text-gray-500>{{ $user->email }}</p>
                </div>
                <!-- We add the class generated by the Attribute here -->
                <div class="text-right px-4 py-1 mx-1 my-2 rounded-md {{  $user->role->backgroundColor()  }}">
                    <!-- We use the value from Label attribute here -->
                    <p class="font-bold text-gray-800/50">{{ $user->role->label() }}</p>

                    <!-- Call the attribute description for this Enum case -->
                    <p class="text-gray-500">{{ $user->role->description() }}</p>
                </div>
            </li>
        @endforeach
    </ul>
</x-layout>
And the final version:
 Conclusion
We can need to graft a lot of things to Enums, for my part, my need was on a choice of services, for the values of a select in a booking form. I needed formatted content elements, additional information, and elements useful for validation rules. This approach simplified my code and brought great flexibility to development.
If you don’t want to do it yourself, but want to use a package, I recommend you go see this one, it gave me the idea to dig into this subject and offers interesting additions on Enums: https://github.com/archtechx/enums
To finish, if you have questions about dev subjects, don’t hesitate to dig, we learn a lot by doing it.
About me:
Fullstack developer for 3 years following a career change after 5 years of work in Web Marketing. I completed my developer training at Oclock. I work full-time in a company specialized in B2B marketing/project management. My daily work involves development on an e-commerce platform and an in-house ERP system that covers all the functions of our company. I work with a custom framework, Laravel, and Vue.js. On a personal note, I am passionate about the more creative side of the web, and I work a lot with Vue.js, Three.js, and Gsap to create fun projects.
Find me on X.