
Here, each job offer is carefully reviewed to ensure a successful job search experience. 6 days ago
 23 hours ago
 1 day ago
 2 days ago
principal software engineer python en startup - full remote 75/90k
Le Cab by WeLoveDevsPermanent contract
Le Cab by WeLoveDevsPermanent contract
100% Remote work
≥ 8 years experience
75k€ ➞ 90k€/year
Python
Typescript
Bootstrap
auditeur - inspecteur it h/f
BNP ParibasPermanent contract
BNP ParibasPermanent contract
Paris, FR
& Remote≥ 3 years experience
45k€ ➞ 65k€/year
Management
senior site reliability engineer
AdikteevPermanent contract
AdikteevPermanent contract
100% Remote work
≥ 5 years experience
80k€ ➞ 100k€/year
Amazon Web Services
Go
Kubernetes
senior sre devops
WinamaxPermanent contract
WinamaxPermanent contract
Paris, FR
& Remote≥ 7 years experience
70k€ ➞ 80k€/year
Amazon Web Services
Terraform
Ansible
We also offer technical tests on over 100 tech topics.
Come challenge your skills in the languages of your choice, share and measure your scores with the community!Enjoy over 80 tests on various technologies with levels ranging from beginner to expert.More than 3300 interview questions available!
WeLoveDevs.com is for all IT professionals: whether you're a young developer, devops expert, or senior product owner.
Permanent contracts, freelance, internships or work-study contracts.
Permanent contracts, freelance, internships or work-study contracts.


Does it work?
Since 2016, we have assisted over 60,000 tech profiles
We have come a long way, and here are some numbers to prove it!80 000Registered profiles
3000Companies
60 000Ads read each month
50 000MCQ questions answered each month
We provide you with all the keys to better understand the companies that interest you through pages that showcase their tech stack, their tech environment, and above all, their teams.


Top 10
norsys
Consulting Professional Services, Services
Lyon, FR& 9 others
Between 500 and 1000 employees
1 job offer
Top 11
Bloomind
Consulting Professional Services
Strasbourg, FR
Between 10 and 50 employees
1 job offer
Top 2
Jetdev
B2B
Lille, FR
Between 10 and 50 employees
2 job offers
Top 6
ACSSI - UNIS
B2B, Consulting Professional Services, Conception logiciels et applications
Villeneuve-d'Ascq, FR& 3 others
Between 200 and 500 employees
1 job offer
We meet IT services and the people who are pushing the boundaries
See all

Blog
Article

23/12/24

Blog
Article

8/11/24

Blog
Article
27/09/24
Blog
Article

21/09/23
Ready? Take control of your career in 3 steps.
1. Create your express profile in 2 minutes
Introduce yourself through a quick profile to receive your first professional opportunities and apply with just one click.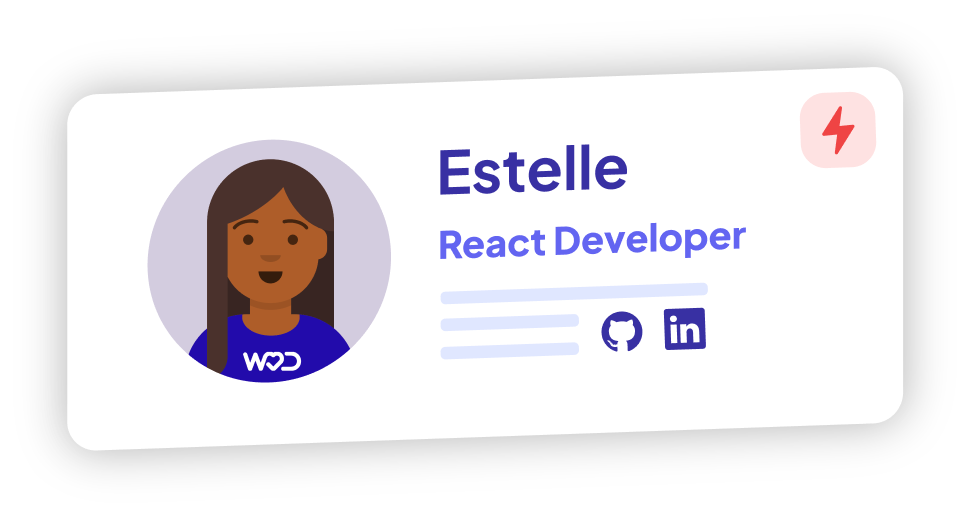
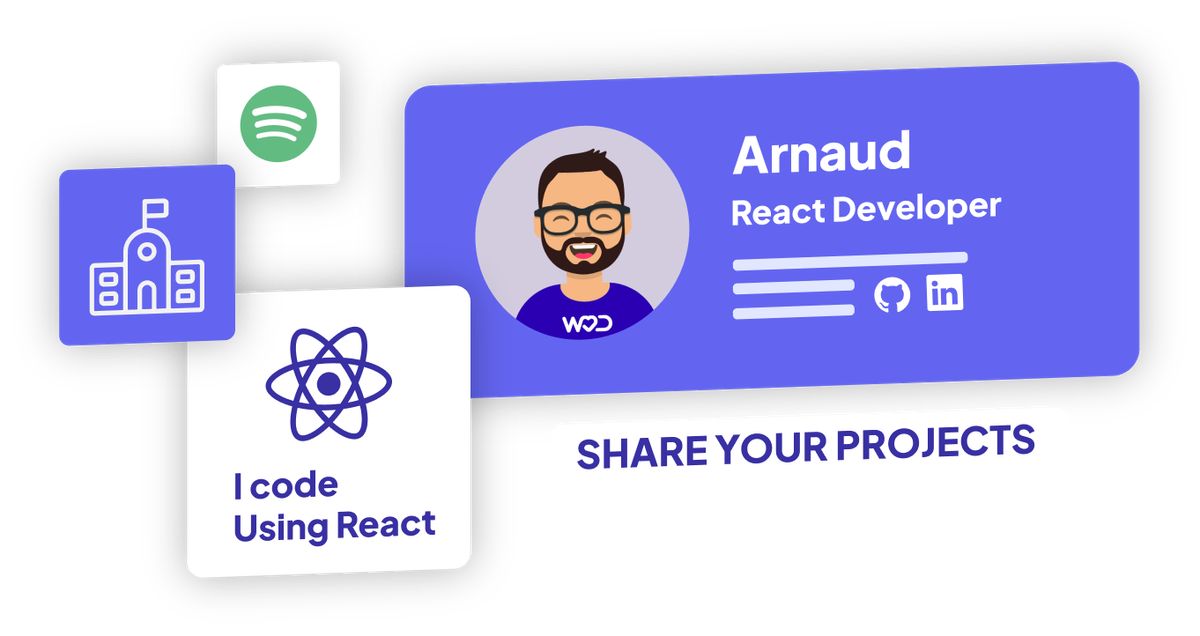
2. Boost your visibility with our comprehensive open-source profile
Do you want to find your dream job? Complete your profile with your most successful tests, your experiences, your passions...3. Control your visibility
You can choose the companies that won't be able to see you on WeLoveDevs.com. You only reveal your contact information to the companies that interest you.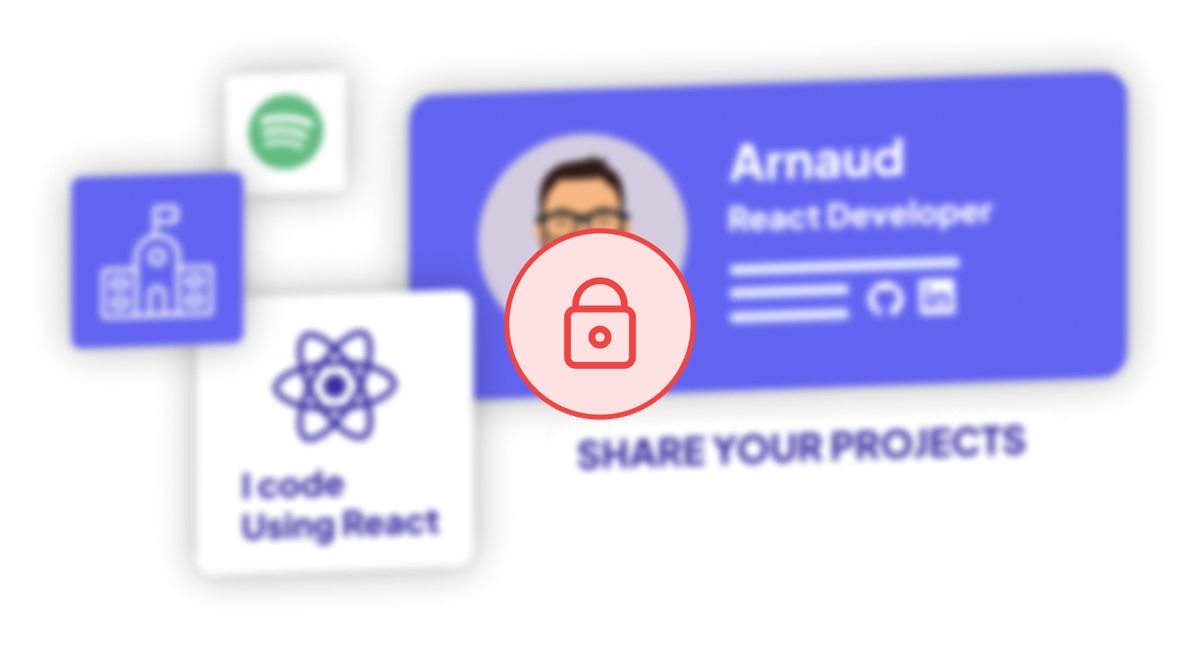
Want to go further? Discover our candidate training courses
See all
Developer testimonials
WeLoveDevs is a good way to get in touch with companies, the people working there are attentive and there are answers to questions. Highly reccomended
JérémyIT Architect
WeLoveDevs is an excellent platform for connecting with companies. I highly recommend for anyone who is open to new opportunities or juniors looking for their first permanent contracts.
SébastienAngular Developer
Awesome dev-company networking plateform ! Creating a WeLoveDevsProfile is without comparison with their competitors, give it a try !
SarahFront-end apprenticeship developer